Hey, You are looking for help on Network & Internet Settings in Windows 10?. If “yes” then you are in the right place. Here I will guide you for network and internet related settings.
If you using a computer, you may have faced some of these problems at a certain time of point in windows 10.
- How to check whether your pc connected to the internet or not in Windows 10?
- How to change connection properties in Windows 10?
- How to check the available networks on Windows 10?
- How to change adapter options in windows 10?
- How to change sharing options for different network profiles in windows 10?
- How to Diagnose and fix network problems in windows 10?
- How to check connected network properties in windows 10?
- How to Reset your network in windows 10?
Now let’s learn how to fix these problems one by one.
1. How to check whether your pc connected to the internet or not in Windows 10?
To check whether your computer is connected to the Internet or not follow these steps:
Step 1: Click on the “Windows” icon from the keyboard. You can also choose the windows icon from the home display with the help of the mouse.
Step 2: Then from the popup menu click on Settings Gear icon, the windows settings will open.
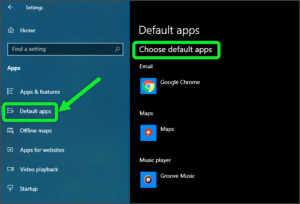
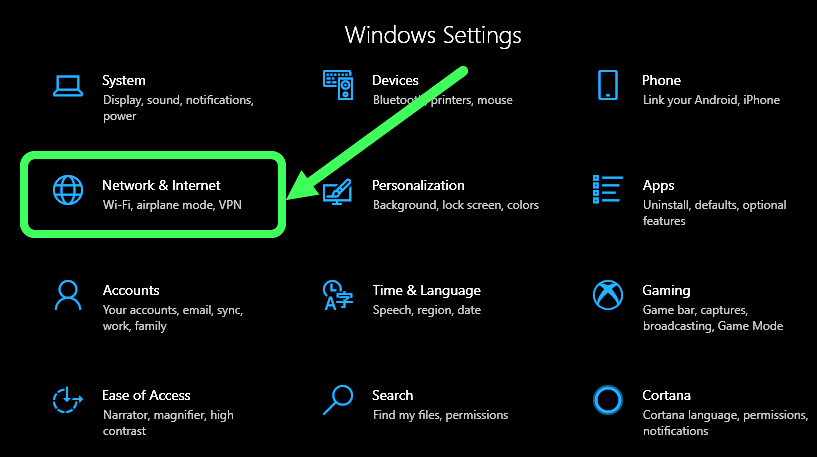
Step 3: In the settings choose Internet & Network Settings.
Step 4: Then from the Right, click on the Status. Now you will see status options.
You will see your internet connection status options. You can also see in the picture below:

In my case, my computer connected with wifi networks as shown in the image.
2. How to change connection properties in Windows 10?
Go to Start Menu> Settings> Choose Network and Internet Settings> Status> then choose to Change Connection Properties. As you see in the picture.

After clicking on this option, Here you will see network profile options in this setting. There are two options:
- Public network
- Private network
-
Public network
Whenever you connect your computer with the internet using public wifi connection at public places, like Railway stations, Coffee shop, Community center, Hotel, College campus, etc. Select public option after connecting with these kinds of network. This will keep your computer isolated from the rest of the other computers connected to the same public network. If you will choose this option, It will give extra security and privacy to your computer when using this public network.
-
Private network
A private network is like a trusted network. When you are connected with your own personal internet connection you can choose this option, like your Home WiFi LAN(Local Area Network) Connection. After selecting this network you will be able to share printers and files with one computer to another computer connected in the same LAN network connection.
You will also control over data usage, just ON this option. It will reduce your data usages.

3. How to check the available wireless networks in Windows 10?
Go to Start Menu> Settings> Choose Network and Internet Settings> Status> then choose to Show Available Networks. As you see in the picture.

After clicking on this option you will see all available networks in your range. you will also see in the below image. If you want to connect one of these available networks then just click on it and then click on connect if that network is secure then you have to enter the password for that network. If you are already connected to any network and want to disconnect it, then just click on that network and click on the disconnect option.

4. How to change adapter options in windows 10?
Go to Start Menu> Settings> Choose Network and Internet Settings> Status> then choose to Change Adapter Options. As you see in the picture.

After clicking on this option you will see the network adapters. You can also see in the below image. In these settings, you will see your computer network connections like WiFi connection, LAN (local area network), Ethernet, etc. Here you can change your adapter if you want to change.

If you right-click on one of this adapter, then you see some options:
-
Disable
If you want to Block this network connection then click on the “disable” option.
-
Connect/Disconnect
In this option, you can connect an available network and if already connected you can disconnect it by clicking on this option.
-
Status
In this option, you will see your adapter connection status.
-
Diagnose
You can choose this option when you are facing network connection related problems. To resolve the problems.
-
Create a Shortcut
By using this option, you will create your adapter shortcut on the desktop.
-
Delete
By using this option, delete your adapter from the computer then you can choose this option and delete it.
-
Rename
If you want to rename your adapter, click on it and set the rename as you want to name your adapter.
-
Properties
In this option, you will see your adapter connection properties.

5. How to change sharing options for different network profiles in windows 10?
Go to Start Menu> Settings> Choose Network and Internet Settings> Status> then choose to Sharing Options. As you see in the picture.

In the network sharing settings, You can choose specific options for each profile. If you want to share your files and printer to your network then you have to turn on this feature by clicking on that option. Here you will see three types of network profiles private, guest or public and all networks, you will set your network as you want.

6. How to Diagnose and fix network problems in windows 10?
Go to Start Menu> Settings> Choose Network and Internet Settings> Status> then choose to Network Troubleshooter. As you see in the picture.

By using this option you will test your network connection in windows 10 when your computer facing trouble with network connections, and you can also check the specific adapter (Ethernet or Wireless, etc). After finish scanning, you will get result of your network connection, if you get any errors then you can fix it.

7. How to check connected network properties in windows 10?
Go to Start Menu> Settings> Choose Network and Internet Settings> Status> then choose to View your Network Properties. As you see in the picture.

After clicking in this option, you will see your all computer network properties in detail, like Wireless connection properties, Ethernet connection properties, Local area connection, etc. (as you see in the below image)

8. How to Reset your network in windows 10?
Go to Start Menu> Settings> Choose Network and Internet Settings> Status> then choose to Reset your Network. As you see in the picture.

After clicking on this option, you will see network reset settings.

Here, if you want to reset your networks then just click on “Reset now” and complete process. After completing the network reset process will be reset your computer network.
I hope after reading this post you’ll be able to manage your computer Network & Internet Settings in Windows 10. If you have still any queries related to these settings then you can ask me using below comment box.