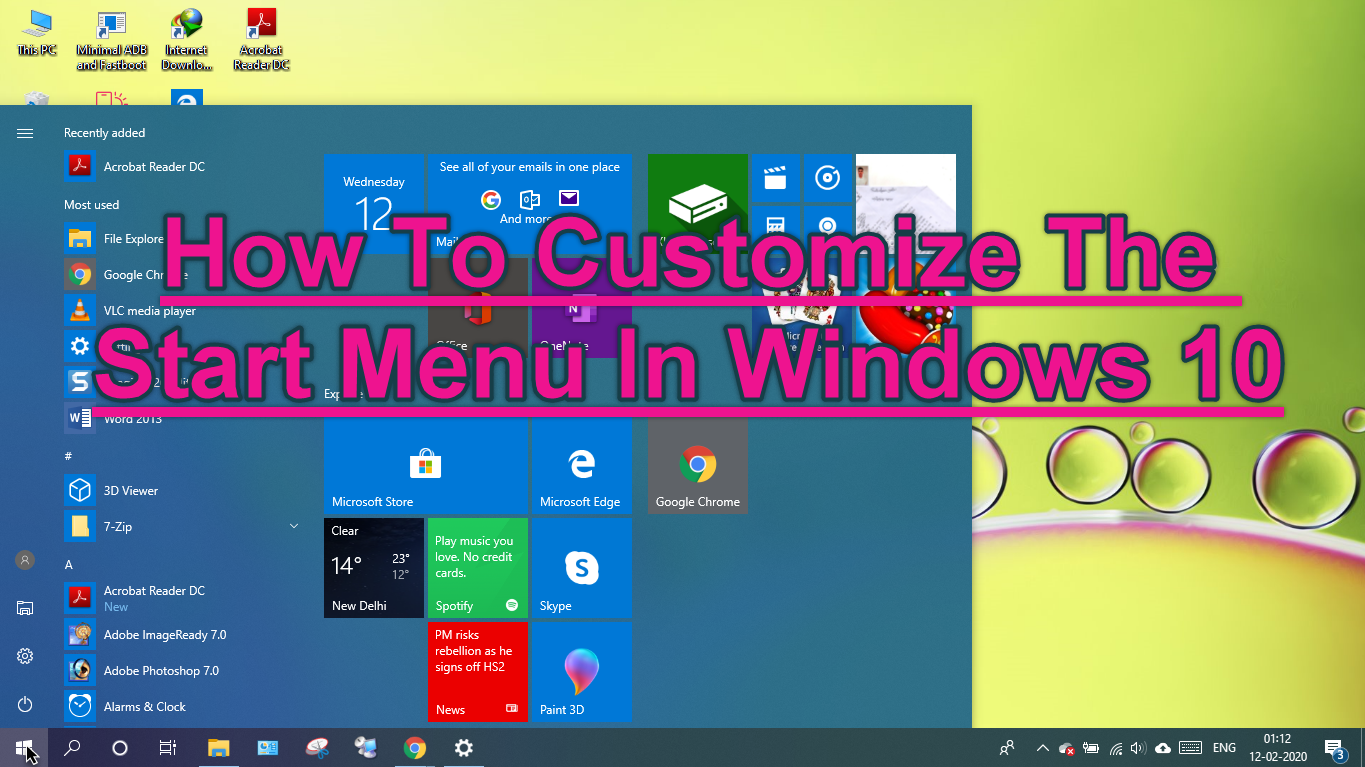
The start menu is like a primary menu for all computers. In the start menu, you will see multiple options that help to easy to access any application, files, settings, etc on the computer system. So you will customize your Start menu as you want to set options and make a better experience with the start menu. By following given below these points you will customize your start menu.
- How to add more tiles on the Start menu in Windows 10?
- How to enable or disable the app list on the Start menu in Windows 10?
- How to show recently added apps on the Start menu in Windows 10?
- How to show the most-used apps on the Start menu in Windows 10?
- How enable or disable suggestions occasionally on the Start menu in Windows 10?
- How to set the full-screen Start menu in Windows 10?
- How to show recently opened items in Jump Lists on Start menu or the taskbar and in File Explorer Quick Access in Windows 10?
- How to choose which folders appear on the Start menu in Windows 10?
Let’s start one by one.
-
How to add more tiles on the Start menu in Windows 10?
Go to Start Menu > Settings > Personalization > then click on the ‘Start menu’ option. Then the start menu settings will open. As you also see in the below image 1.

You can also open Start menu settings to another way, simply right-click on your desktop area and choose the ‘Personalization‘ option from the popup menu then choose ‘Start menu‘ option. As you see in the below image 2. Then you will be reached into start menu settings in windows 10.

Then from the right section enable the ‘Show more tiles on Start‘ option. If you don’t want to add more tiles on the start menu just disable this option. Image 3

After that, you will saw on the start menu more tiles added as you see in the below image 4.

-
How to enable or disable the app list on the Start menu in Windows 10?
Go to Start Menu > Settings > Personalization > then click on the ‘Start menu’ option. Then the start menu settings will open. As you also see in image 1. You can also open Start menu settings to another way, simply right-click on your desktop area and choose the ‘Personalization‘ option from the popup menu then choose ‘Start menu‘ option. As you see in image 2. Then you will be reached into start menu settings in windows 10.
Then from the right section enable the ‘Show app list in the start menu‘ option. If you want to disable showing app list on the start menu then simply turn OFF this option. Image 5

After enabling this option you will saw in the start menu app list will showing as you see in image 6 below.

-
How to show recently added apps on the Start menu in Windows 10?
Go to Start Menu > Settings > Personalization > then click on the ‘Start menu’ option. Then the start menu settings will open. As you also see in image 1. You can also open Start menu settings to another way, simply right-click on your desktop area and choose the ‘Personalization‘ option from the popup menu then choose ‘Start menu‘ option. As you see in image 2. Then you will be reached into start menu settings in windows 10.
Then from the right section enable the ‘Show recently added apps‘ option. If you don’t want to show recently added apps on the start menu just disable this option. Image 7

After enabling this option you will see recently added apps on the start menu in Windows 10 as you see in image 8 below.

-
How to show the most-used apps on the Start menu in Windows 10?
Go to Start Menu > Settings > Personalization > then click on the ‘Start menu’ option. Then the start menu settings will open. As you also see in image 1. You can also open Start menu settings to another way, simply right-click on your desktop area and choose the ‘Personalization‘ option from the popup menu then choose ‘Start menu‘ option. As you see in image 2. Then you will be reached into start menu settings in windows 10.
Then from the right section enable the ‘Show most used apps‘ option. If you don’t want to show the most used apps on the start menu just disable this option. Image 9

After enabling this option you will see most-used apps on the start menu in Windows 10 as you see in image 10 below.

-
How enable or disable suggestions occasionally on the Start menu in Windows 10?
Go to Start Menu > Settings > Personalization > then click on the ‘Start menu’ option. Then the start menu settings will open. As you also see in image 1. You can also open Start menu settings to another way, simply right-click on your desktop area and choose the ‘Personalization‘ option from the popup menu then choose ‘Start menu‘ option. As you see in image 2. Then you will be reached into start menu settings in windows 10.
Then from the right section enable the ‘Show suggestions occasionally in Start‘ option. If you don’t want to show suggestions occasionally on the start menu just disable this option. Image 11

After enabling this option you will see suggestions occasionally on the start menu in Windows 10 as you see in image 12 below.

-
How to set the full-screen Start menu in Windows 10?
Go to Start Menu > Settings > Personalization > then click on the ‘Start menu’ option. Then the start menu settings will open. As you also see in image 1. You can also open Start menu settings to another way, simply right-click on your desktop area and choose the ‘Personalization‘ option from the popup menu then choose ‘Start menu‘ option. As you see in image 2. Then you will be reached into start menu settings in windows 10.
Then from the right section enable the ‘Use Start full screen‘ option. If you don’t want to use the start menu full screen in Windows 10 just disable this option. Image 13

After enabling this option you will see the start menu showing the full screen in Windows 10 as you see in image 14 below.

-
How to show recently opened items in Jump Lists on Start menu or the taskbar and in File Explorer Quick Access in Windows 10?
Go to Start Menu > Settings > Personalization > then click on the ‘Start menu’ option. Then the start menu settings will open. As you also see in image 1. You can also open Start menu settings to another way, simply right-click on your desktop area and choose the ‘Personalization‘ option from the popup menu then choose ‘Start menu‘ option. As you see in image 2. Then you will be reached into start menu settings in windows 10.
Then from the right section enable the ‘Show recently opened items in Jump Lists on Start or the taskbar and in File Explorer Quick Access‘ option. If you don’t want to see these options in Windows 10 just disable this option. Image 15

After enabling this option you will see in File Explorer > Quick Access > Recently Files and apps in Windows 10 as you see in image 16 below.

-
How to choose which folders appear on the Start menu in Windows 10?
Go to Start Menu > Settings > Personalization > then click on the ‘Start menu’ option. Then the start menu settings will open. As you also see in image 1. You can also open Start menu settings to another way, simply right-click on your desktop area and choose the ‘Personalization‘ option from the popup menu then choose ‘Start menu‘ option. As you see in image 2. Then you will be reached into start menu settings in windows 10.
Then from the right section click on the ‘Choose which folders appear on Start’ option. Image 17

Then ‘Choose which folders appear on Start‘ option will open. Image 18

After opening this option, you will see some folder’s name, if you want to show these folders on the start menu simply enable folder which one you want to show on the start menu. As you see in Image 18.

After enabling the folders you can able to see those folders on the Start menu. In my case, I have selected File Explorer and Settings folder as you see in image 18 and image 19.
I hope you after reading this post you will be able to customize your ‘Start Menu‘ as you want to show. If you have still any queries related to the Start menu Settings then ask me for help with the comment in below box.